(continued from Documentation)
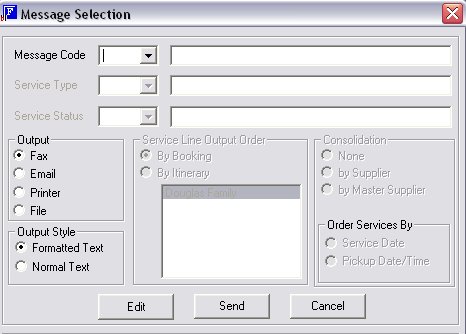
Screen Shot 104: 'Send' – Message Selection Dialogue
This is the standard dialogue displayed when any Agent or Supplier Message is being sent. The fields/choices in the dialogue are:
|
|
Some choices in the dialogue do not become available until a Message Template Code has been chosen. |
Message Code
The drop down will display message template codes that are available and can be selected.
Service Type (Greyed Out)
This field is only available when a Supplier message template is chosen; it allows messages to be sent based on a specific service code.
Service Status (Greyed Out)
This field is only available when a Supplier message template is chosen. It allows messages to be sent based on a specific service status.
Output
There are four output options available:
|
|
To use this option, Tourplan compatible fax software must be installed. |
|
|
To use this option, a MAPI compliant email application must be installed, such as Outlook, Outlook Express, Eudora, Lotus Notes, etc. |
|
|
The default output method can be set via an INI setting. The default can be overridden on message output. If the message is Edited first, then the output method can be changed in the editing screen. For Fax and Email output to work, the message templates must have been set up with the appropriate send settings. |
Output Style
|
|
Email output is always as plain text – all formatting and graphics are removed. |
Service Line Output Order (Greyed Out)
Only available for Agent Messages from Group Book.
Consolidation (Greyed Out)
Available only for supplier messages. When a supplier message template is selected, these three fields become available:
Order Services By (Greyed Out)
Only available for Rooming List type messages. Two choices are available:
As discussed under Pickup/Dropoff details, the Service Dates and the Pickup/Drop-off Dates can be different. This choice of radio buttons determines which of these two dates will be used to order the service line output when a Rooming List Message is output.
Edit
Clicking this button will generate the message and output it to an editing window. Changes can be made to the document in the editing window.
|
|
Allowing the editing of Invoice and/or Voucher message types can be controlled by INI settings. These can be set to either allow the editing of these message types, or deny editing. |
|
|
Messages can be sent to either suppliers or agents using the Send node. Regardless of which Side Bar menu item was used immediately prior to selecting Documentation/Send, all Agent and Supplier message templates will be available. If a Supplier message template is chosen, then the message that is output is determined by which Side Bar menu was last used. If Service List is was last used, then a single message will be sent to the supplier of the highlighted service in the service list. To send messages to all suppliers (or to filter by Service Type and or Service Status), ensure that a Side Bar menu item other than Service List (or any of its Sub Nodes) is clicked prior to choosing ‘Send’. |
|
|
The messages shown are examples only. Because of editing screen size, only the top portion of the messages are shown. The scroll bar on the right hand side of the editing window can be used to scroll through the message. |
Screen Shot 105: Sample Request Message to All Suppliers
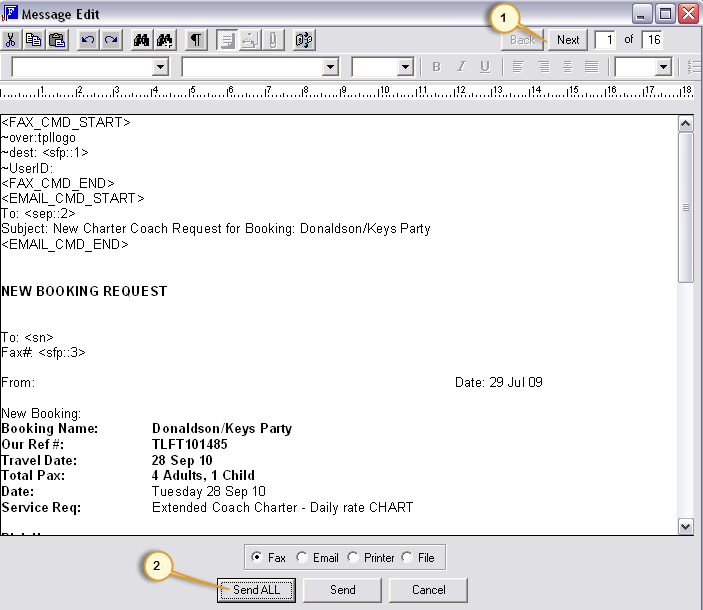
The example in Screen Shot 105: Sample Request Message to All Suppliers above is the result of sending the message to all suppliers. This is evident by:
The ‘Next/Back’ buttons (1) at the top of the screen enable the individual messages to be viewed/edited before sending.
The ‘Send All’ button (2) at the bottom of the screen, which allows the sending of all messages concurrently.
Screen Shot 106: Sample Request Message to One Supplier
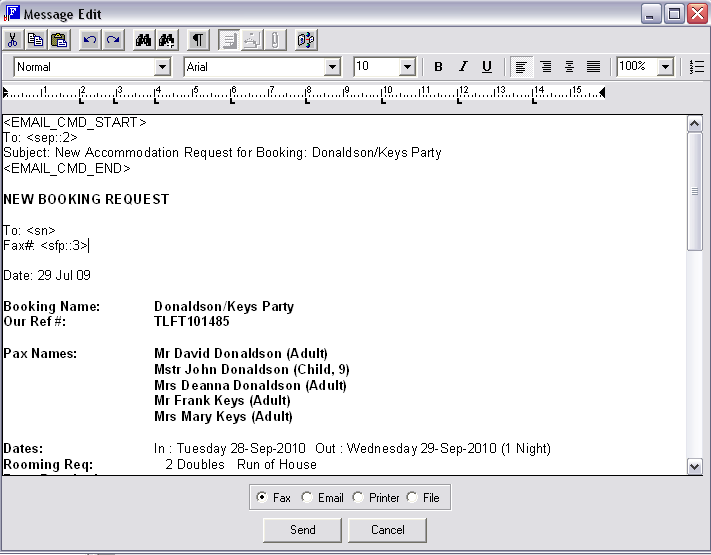
Screen Shot 106: Sample Request Message to One Supplier above shows the Supplier message sent to one supplier only. There are no ‘Next/Back’ buttons and the ‘Send All’ button does not display.
Screen Shot 107: Sample Agent Message
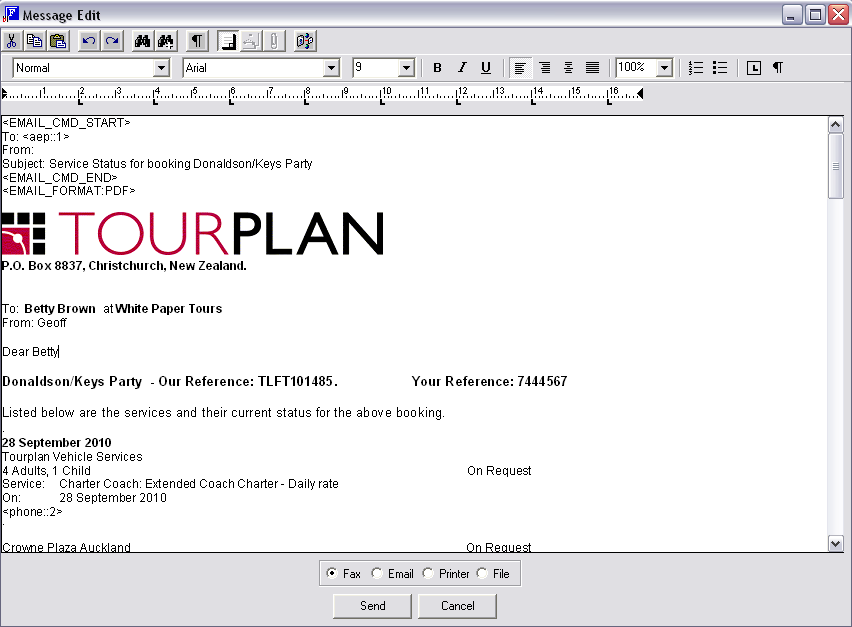
In addition to the Send, (Send All) and Cancel buttons, the output method of Fax, Email, Printer or File can be altered at this stage. If File output is chosen, for multiple Supplier messages, a further choice of multiple files or a single file is offered.
(continued in Produce Vouchers)
 Tourplan iS V2.07 FastBook Training Guide
